All rooks ending are drawn, or…??
People sometimes say that all rook endgames are drawn. But is that really the case? Why is this statement so often made? The reason seems clear: some endgames, even with two extra pawns, may appear won but still end in a draw. That makes evaluating of such positions especially tricky. And sometimes a rook endgame with an equal number of pawns is simply lost because one player’s pieces are much more active than the opponent’s. Proper evaluation of such positions requires specific knowledge. Hence the tongue-in-cheek phrase in the title of this article.
In my book Chess Endgames for Club Players, I’ve devoted relatively much attention to rook endgames. There are two main reasons for this:
- Statistically speaking, this type of endgame occurs most frequently. This can be explained by the fact that rooks typically enter the game quite late, making it logical that other pieces are exchanged earlier.
- Rook endgames contain so many hidden tactical ideas and beautiful techniques that it’s very worthwhile to study them in order to deepen overall endgame understanding.
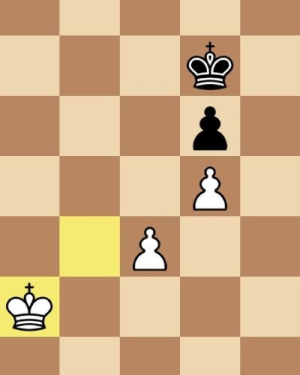
The following two examples from modern grandmaster play clearly show what I mean by this. In the first game fragment, we see that the black rook has very little mobility and the black player must sacrifice a pawn to become active. If he hesitates for even a moment, the white player activates king and rook in instructive fashion, after which Black’s counterplay proves insufficient for a draw. The white play is highly instructive:
In the second example, the board initially shows a “dead” drawn position, where Black, despite being a pawn up, has no way to make progress. But when White greedily captures this pawn, the position suddenly flips — and now it’s lost for him. Black wins another pawn, and White is forced to place his rook on a very passive square, while the king remains cut off from the battlefield on the queenside. Let’s take a look at how that unfolded.
Conclusions:
Both examples clearly show that an active rook can be more important than material. Where Ju Wenjun immediately should have given up a pawn to activate her rook, Horvath should not have captured one. Tan Zhongyi's technique at the end of giving her rook a dual function (both tying itself to the opponent’s pawn and acting like an umbrella to shield her own king from checks from behind) is instructive. This technique is discussed in my book on p. 304. Van Foreest shows the power of active pieces over passive ones and simultaneously demonstrates the technique of vertical cut-off (see also p. 265) to force the win.

